
In Short
- Orange peel usually stems not from a single cause but from the combined effect of thickness, voltage, pretreatment and curing.
- The first place to look is film thickness: stay in the 60–80 µm range for decorative work; above 100 µm, texture becomes pronounced.
- High kV (80–100) and high µA disrupt the surface through back ionization; drop to 50–70 kV and keep the distance at 20–30 cm.
- Exact flow temperature and cure values depend on the powder manufacturer's technical datasheet (TDS); the ranges below are a starting point.
Shine a light on a part coming out of the oven from the side, at a low angle. If the surface is not a smooth mirror but finely wavy like orange peel, you are facing the defect most shops complain about most often. The finish isn't rough, but gloss is lost, the shade is off, and the customer sends it back saying “it looks matte but isn't matte.” So where exactly does this texture come from?
What exactly is orange peel
Orange peel is the failure of melted powder to fully spread and level on the surface during curing. When heated, powder particles melt, flow and fuse together to form a continuous film. If the resin starts cross-linking before this flow is complete, particle boundaries freeze and micro-waves remain behind. The texture you see is really the story of a frozen flow.
Wavelength falls roughly into two groups. Short-wave texture (close to particle scale, sub-millimeter peaks) is generally caused by application and powder. Long-wave texture (broad waves spanning several millimeters) is more related to surface preparation and the substrate. Telling which wavelength dominates is the first step toward the right cause.
Film thickness: the most common culprit
Most texture problems start with thickness. The target is 60–80 µm for decorative work and 60–90 µm for general-purpose work. When dry film starts to exceed 100 µm, the molten layer thickens, struggles with its own weight and viscosity as it spreads, and solidifies before it has time to level. The result is pronounced texture.
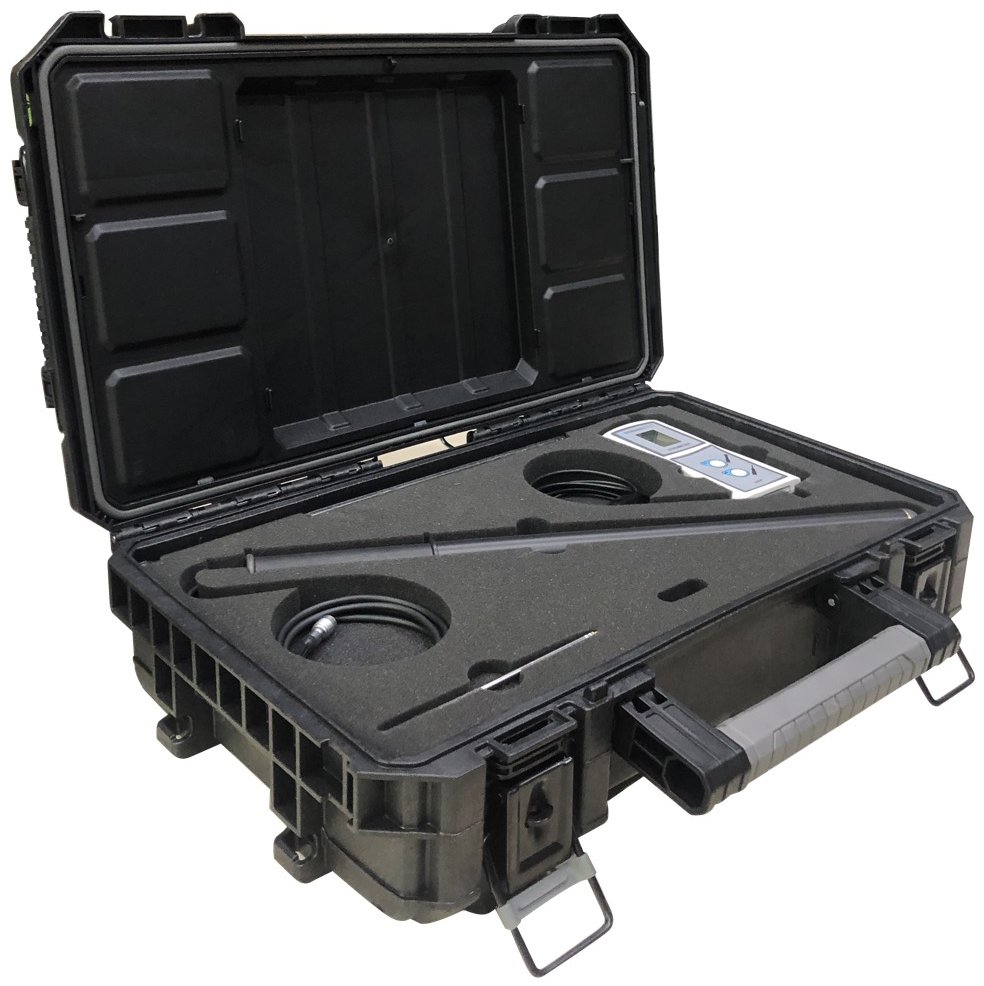
The opposite direction is problematic too. Below 40 µm, hiding weakens, the substrate and brush marks show through and corrosion resistance drops. So cutting thickness all the way down to avoid orange peel is not the answer either. The secret is to stay within the range and verify thickness by measuring. A magnetic/eddy-current DFT gauge is sufficient for this; take at least 5 readings from different areas of the part and don't rely on a single reading. If you want to look at the relationship between thickness and texture in more detail, see the film thickness topic separately.
Tip
If one edge of the same part reads 70 µm and the neighboring area 130 µm, the problem is not the powder but the evenness of application. Equalize the thickness distribution first, then move on to other parameters.
Voltage and current: the cost of overcharging
With corona guns, 80–100 kV and high µA are tempting because the powder adheres quickly. But overcharging brings two problems. First, free ions accumulating on the surface lead to back ionization; the built-up charge creates mini sparks, repels powder and leaves the surface cratered and crusty. Second, the strong electric field carries too much powder to flat areas and too little to recesses and corners, making thickness uneven.
The practical setting range for most flat decorative work is 50–70 kV with limited current (a 10–20 µA limit works well on many guns). Keep the gun distance at 20–30 cm; getting too close to the part makes the field harsher. Also take into account corner voids, a separate issue on complex, recessed parts; the logic behind this is detailed in the guide covering all defects.
Pretreatment and substrate roughness
With long-wave, broad orange peel, the culprit is often the substrate. If you apply a thin film over an already rough surface, the coating does not cover that roughness; it rides on top and copies the texture. If coarse grit was used in blasting and the steel surface was left rough, the texture is there from the start.
On the chemical side, oil, silicone or poor rinsing disrupt surface tension; the melting powder cannot spread evenly in these areas. Degreasing, conversion coating (iron/zinc phosphate or nano-ceramic) and a final rinse with clean water directly affect texture. A part coming out of the dry-off oven with water spots or salt residue will spoil the coating even if it looks clean. We explain separately in the pretreatment article why these steps determine coating life.
Caution
Oil and moisture in the compressed air line contaminate the powder even if pretreatment is flawless. Without an oil separator and air dryer at the compressor outlet, you will look outside for the source of occasional texture/crater mixed defects. Check the air first.
Curing: giving flow time to happen
After the powder melts and before cross-linking begins, there is a “flow window.” If the oven cuts this window short, the coating freezes before it has finished leveling. The most common mistake is looking at the oven air temperature and missing the fact that the part actually reaches that temperature late. The yardstick is not oven air but part metal temperature (PMT).
Starting ranges: polyester 180–200 °C, epoxy 150–180 °C, epoxy-polyester hybrid 160–190 °C. Time is counted as 10–20 min after the part reaches target temperature; about 10–15 min at 200 °C and 20–25 min at 180 °C are typical. Because heavy-mass parts reach target temperature late, their core may still be in the flow stage while the edges are curing. Exact values are always given in the powder manufacturer’s TDS and are confirmed by on-site measurement. To be sure, map the real oven profile with a data logger attached to the part. For details on curing logic, see the curing article.
A warning: undercuring also causes texture. If the resin exits before it has fully flowed, the surface is both textured and poorly adhered. So if you are saying “I turned the oven down and the texture didn’t go away,” you may be undercuring, not overcuring.
Powder and environmental effects
Sometimes the parameters are right but the powder is to blame. Powder that has absorbed moisture, clumped or passed its shelf life loses its fluidity. In reclaimed powder, the fine fraction below 10 µm builds up over time; fines charge differently and produce a poorly leveled film. Blend reclaimed powder with virgin powder in proportion (typically 20–30%) and do not neglect sieving.
Ambient humidity also plays a role. In very dry conditions (below 35% relative humidity), charging becomes excessive and sets the stage for back-ionization; in very humid conditions, powder flow suffers. 45–60% relative humidity is a reasonable target for the booth and storage area.
Troubleshooting checklist
When texture appears, work through the causes in order instead of adjusting parameters at random. The table below summarizes what to check and the first corrective action, starting from the most likely cause.
| Step | Control | Target / Symptom | First action |
|---|---|---|---|
| 1 | Film thickness | 60–80 µm for decorative work; 100+ µm is too thick | Reduce gun output/number of passes, verify with DFT |
| 2 | Voltage (kV) and current | 80–100 kV or high µA means overcharging | Drop to 50–70 kV, limit current, set distance to 20–30 cm |
| 3 | Compressed air | Oil/moisture gives a mix of craters and texture | Add/check oil separator and air dryer |
| 4 | Pretreatment and substrate | Coarse blasting, residues, poor rinsing | Use a finer grit size, check rinse water and degreasing |
| 5 | Curing (PMT) | Part reaches target temperature late/insufficiently | Map the profile with a data logger, set time/temperature per the TDS |
| 6 | Powder condition | Moisture, clumps, buildup of fines | Correct the virgin/reclaim ratio, sieve, check storage |
Change one variable at a time, then cure a test panel and inspect it under side lighting. If you change two or three parameters at once, even if the problem goes away you won’t know which change worked, and when the defect returns you will start from scratch again. In most cases, bringing thickness into range alone gets you sixty percent of the way; the rest is fine-tuning voltage and curing.
Quick field summary
Orange peel is usually not a single fault but the sum of several small deviations. Measure thickness and keep it in range, do not raise voltage unnecessarily, keep air and pretreatment clean, and set up curing based on part temperature. Once these four pillars are in place, the surface improves noticeably. For the remaining fine differences, the powder manufacturer’s TDS values and your own test panels are the most reliable guide.
Frequently Asked Questions
First bring film thickness into the 60–80 µm range, then lower the voltage to 50–70 kV and set the distance to 20–30 cm. Verify pretreatment, compressed air and curing one by one; change one variable at a time.
60–80 µm suits decorative work and 60–90 µm general-purpose work. Above 100 µm, texture becomes pronounced; below 40 µm, hiding power and corrosion resistance weaken.
At 80–100 kV and high current, back-ionization disrupts the surface. On most flat decorative work, 50–70 kV and limited µA give a smoother film; the exact value depends on the part and the powder.